This option allows you select either Google, Microsoft (Azure) or SAML based login for viewers.
When you use this, you have three options:
Public - all people with valid (google or azure based on your selection) accounts are allowed to access your deployment.)
Filter By domain - all people with valid google or azure based accounts on the domain that you have set are allowed to access your deployment.
Filter By viewer list - all accounts google or azure based accounts in your viewer list are allowed to access your deployment.
This is a viewer group authentication mechanisms support for the .
Any SAML identity provider (IdP) can be configured to be used for authentication of a viewer.
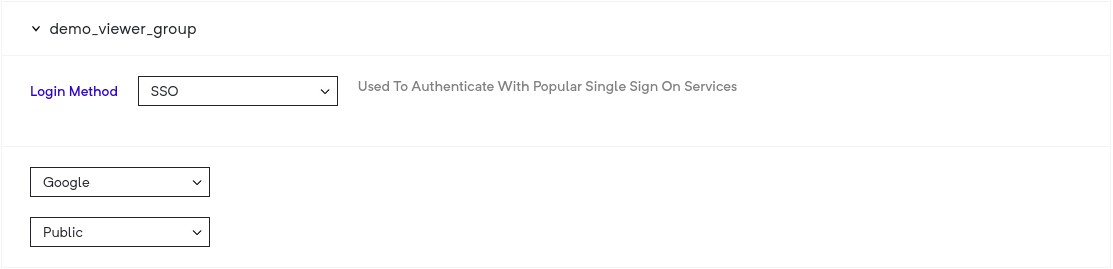
To enable this, head over to the Viewer Group page, then:
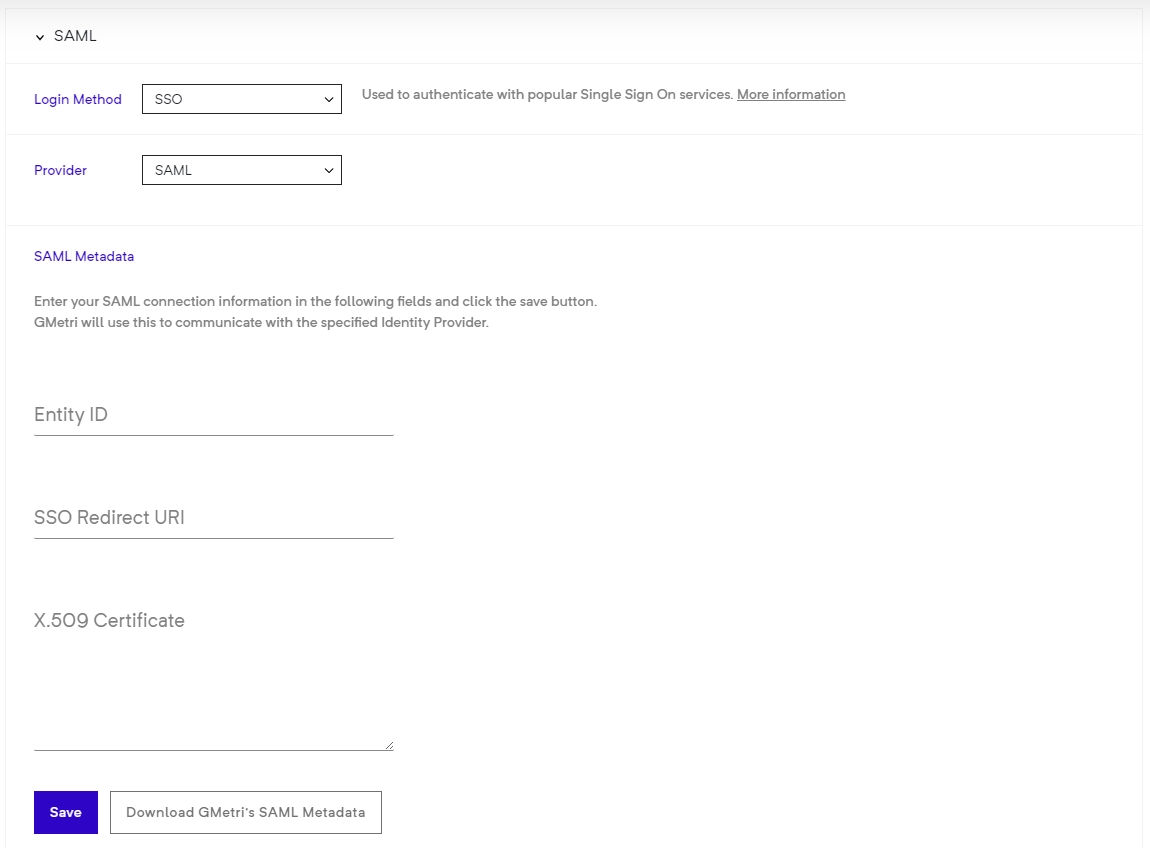
Select SSO as your Login Method.
Now select SAML from the Provider drop-down menu.
After this, you will be asked to provide your SAML IdP configuration.
You should see the config as follows:
Enter your IdP's entityId, SSO redicrection URL and X.509 signing certificate.
Click the Save button to finally save your configuration.
To register GMetri as a service provider (SP) with your IdP, you will need the configuration details. You can get these details by clicking the
You can find sample metadata configuration under the SAMLtest's IdP section. This will give you an idea of what you need to paste in the boxes for the SAML config.
NOTE on pasting X.509 certificate
Please paste certificate without the ----BEGIN CERTIFICATE---- and ----END CERTIFICATE---- part.
Once you create a SAML viewer group, head to your deployment and set this viewer group as the authentication mechanism for that deployment.
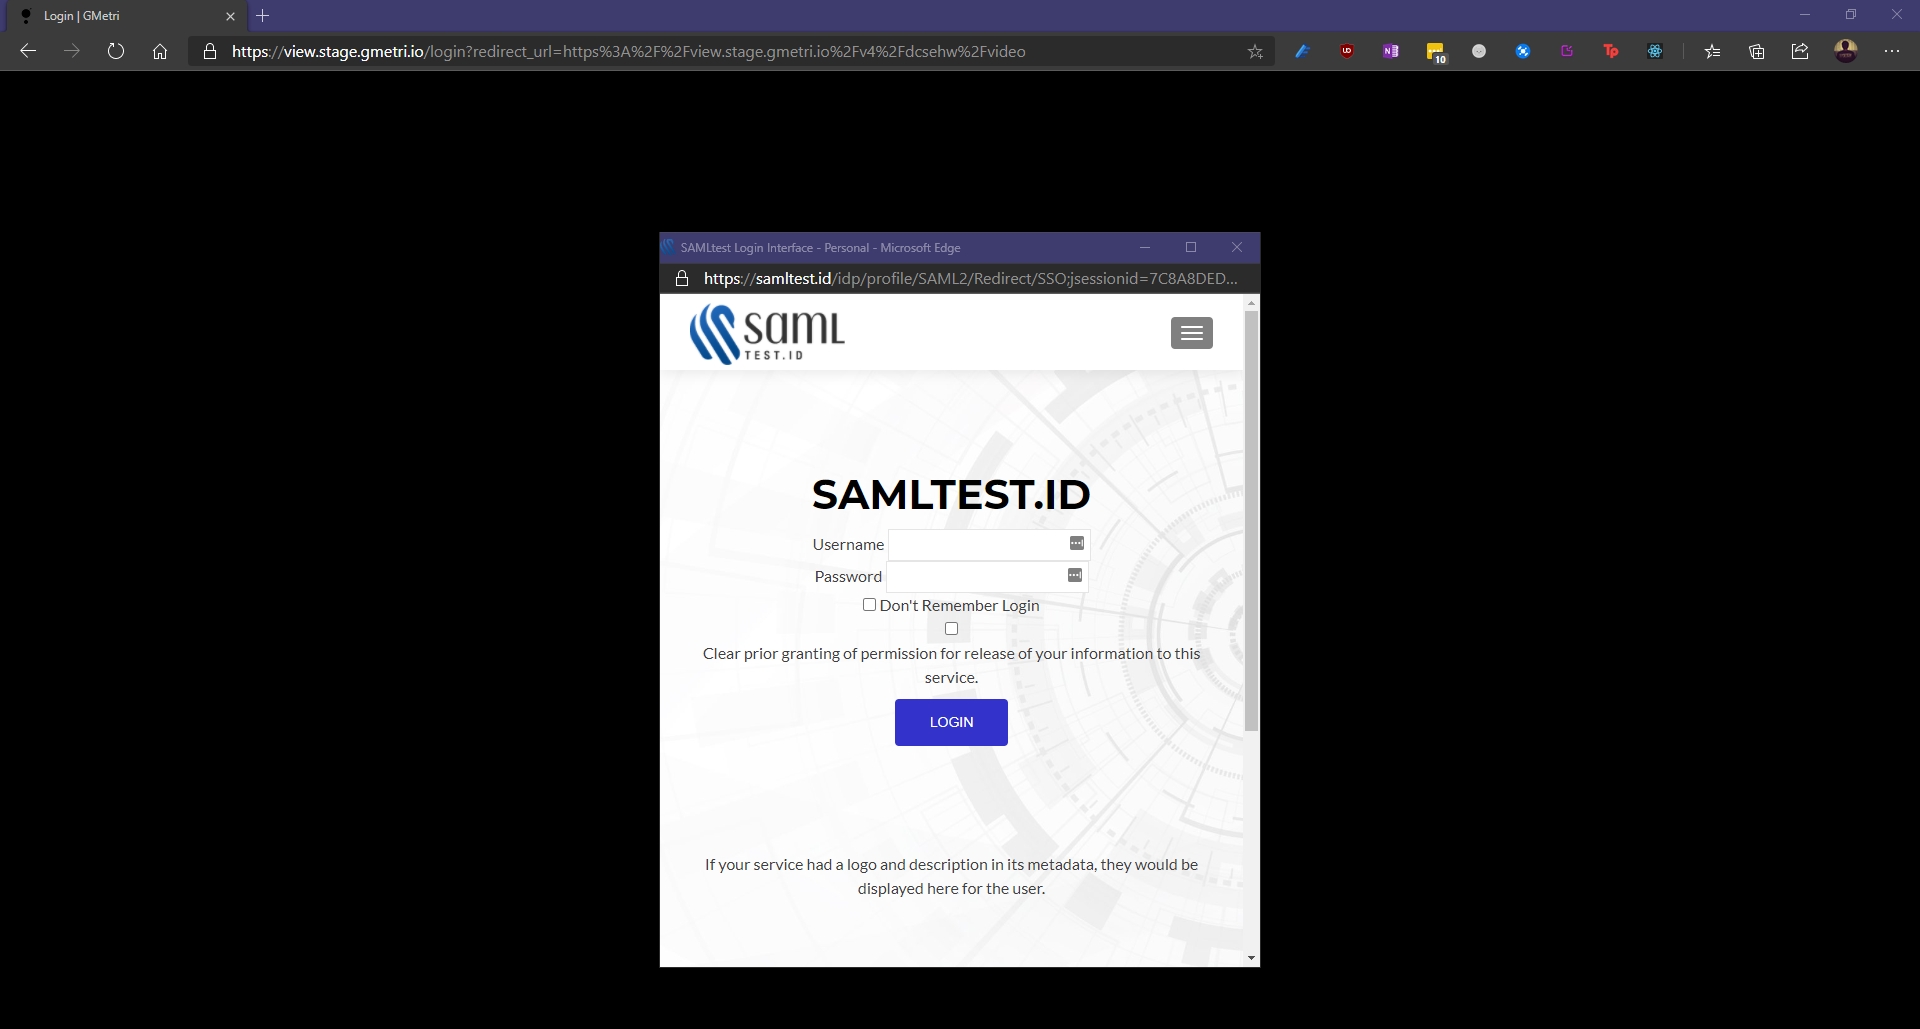
Once you open a viewer link for deployment with a SAML SSO based viewer group, you will see a pop-up with the IdP's login page.
Post-IdP login process, you will be redirected back to view.gmetri.com.
We use your email address sent to us by the IdP as the primary identifier for the viewer session.
Name Identifier format: urn:oasis:names:tc:SAML:1.1:nameid-format:unspecified
In IdP SAMLResponse we look for the following attributes:
Download GMetri's SAML Metadataemail/mail
urn:oasis:names:tc:SAML:2.0:attrname-format:uri
Display Name
displayname / urn:oid:2.16.840.1.113730.3.1.241
urn:oasis:names:tc:SAML:2.0:attrname-format:uri
This option generates a list of passwords which expire after a certain duration of hours. This expiry timer starts only after the first use of each password. Also to be specified is the time frame within which the Experience can be viewed.
Configuration:
Number of passwords to add
The number of passwords you want to add to the list of already generated passwords.
Duration in Hours
Once a password is used for the first time, it can only be reused until this duration of hours. After this duration is reached, this password will expire.
Start Date
Once you fill all the fields and click on save, a list of generated passwords become available for you to download. You may share this list with your intended viewers with which they can log in to view the Experience.
On resetting the duration for this viewer group, the duration is reset to the new value for all old used and unused passwords as well.
The date after which the Experience can be viewed. Counted from this date, 00:00IST onwards.
End Date
The date after which the Experience cannot be viewed. Counted from this date, 23:59IST onwards.
Add a rule for when you want the viewer to move to the new deployment.
This allows your viewers to login by entering their email and an OTP. You can also whitelist the domains you want to allow, or directly select most commonly used email domains like gmail.com/outlook.com etc.
To authenticate your deployment with the Email with OTP option, you first need to create a Viewer Group (steps below). And then select that viewer group as the access method for the deployment in question.
Public - allows all emails
Filter by domain - you can provide a comma separated list of email domains you want to allow (eg: walmart.com, google.com )
Common Email Domains - allows most of the common email domains, while ensuring that disposable email domains aren't allowed.
This option allows to generate automatic login tokens to login the viewers. A great way to use this feature is to autogenrate the login tokens via an API and create limited time login links.
To generate a token, create a new viewer group and select the token login method. When you select this, you will be shown a signing key, copy this signing key. This will be used to generate the login tokens.
To generate a login token, we create a Jwt token. This login token will be appended to the experience link.
The final url will look like this:
<deployment-link>?token=<generate-jwt-token>
An example url:
https://view.gmetri.com/v4/game/safehands_v2?token=34fhdf7asbfdsa09in2m1od.09u0dfa8nfdjajkbfe8uih32rjn.908ufdbsahbjfd9sabjhfdu
JSON Web Token (Jwt) is an open standard (RFC 7519) that defines a compact and self-contained way for securely transmitting information between parties as a JSON object. This information can be verified and trusted because it is digitally signed. A typical Jwt consists of three parts separated by dots (.), which are header, payload and signature. Therefore, a JWT typically looks like the following. xxxxx.yyyyy.zzzzz. More information about Jwts can be found .
This information is required to correctly identify a viewer on GMetri experiences. The payload for the JWT is shown below (the optional fields can be set as per requirement):
identifier is the unique key by which you identify your viewers.
We recommend using npm package jsonwebtoken to generate jwt tokens on the web (both on server and browser)
An example of generating a Jwt token in node.js:
To run GMetri experiences inside android apps, we recommend an implementation of Chrome Custom Tabs API. Detailed information on how to setup an android experience with Chrome Custom Tabs can be found in this
In your android experience, add the required dependencies for Chrome Custom Tabs and Jwt. Following is an example of gradle build dependencies:
Information on how to install dependencies for other build systems are in the links below:
From this , copy two files: ChromeCustomTabsJwt.java and ServiceConnectionCallback.java into your android experience. These files together provide the interface for chrome custom tabs to run GMetri experiences.
The className ChromeCustomTabsJwt.java implements two public methods:
initialize(String viewerIdentifier, String apiKey, String url, Context context)
launch()
Arguments:
viewerIdentifier - This is a JSON string containing information for the viewer
apiKey - A unique key generated for GMetri experiences.
url - Url of the experience
context
An example implementation of the above classes:
To add more fields to viewerIdentifier JSON object refer to the section.


this{
"identifier" (required): "John001",
"first_name" (optional): "John",
"last_name" (optional): "Doe",
"phone_num" (optional): "+1 000 000 000"
}const jwt = require('jsonwebtoken');
function generateJwt() {
const payload = {
identifier: 'John001', // A unique identifier for your user
first_name: 'John'
};
const apiSecretkey = "<your api secret key>";
const token = jwt.sign(payload, apiSecretkey);
return token;
} import java.security.Key;
import io.jsonwebtoken.Jwts;
import io.jsonwebtoken.security.Keys;
String createJwt(String url, String identifier, String apiSecret) {
JSONObject obj = new JSONObject();
obj.put("identifier", identifier);
Key key = Keys.hmacShaKeyFor(apiSecret.getBytes());
String jwt = Jwts.builder().setPayload(obj.toString()).signWith(key).compact();
return url + "?token=" + jwt;
}
// url is the link from deployment section sssss
String finalUrl = createJwt(url, <unique identifier>, <your api secret key>);dependencies {
implementation fileTree(dir: 'libs', include: ['*.jar'])
implementation 'com.android.support:appcompat-v7:26.1.0'
implementation 'com.android.support:customtabs:26.1.0'
api 'io.jsonwebtoken:jjwt-api:0.11.0'
runtimeOnly 'io.jsonwebtoken:jjwt-impl:0.11.0'
runtimeOnly('io.jsonwebtoken:jjwt-orgjson:0.11.0') {
exclude group: 'org.json', module: 'json' //provided by Android natively
}
} ChromeCustomTabsJwt chromeCustomTabs = new ChromeCustomTabsJwt();
JSONObject obj = new JSONObject();
try {
obj.put("identifier", "[email protected]");
} catch (JSONException e) {
e.printStackTrace();
}
String apiKey = "your_secret_api_key";
String url = "url_to_open";
chromeCustomTabs.initialize(obj.toString(), apiKey, url, this);
chromeCustomTabs.launch();The viewer can login using their social credentials like Google or Facebook/Instagram account to access your experience
This allows you to link multiple deployments. Selecting this option makes this deployment visible in the “Open Deployment” rule while you build another experience.
This option allows anyone to access your experience, but GMetri assigns a viewer id to track history. So when the same person accesses the experience again from the same device and browser, their variables or progress would remain intact.
There are a lot more authentication mechanisms you can use:
Many of the above authentication mechanisms can be setup from the Viewer Group section.


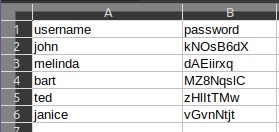
Sometimes you may need a custom list that requires a login identifier other than an email (eg, phone numbers, special usernames, etc). In such cases, you can simply rename the columns to the desired name and it will show up in the login form.
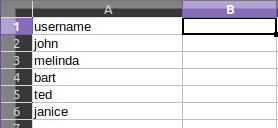
The second column in the csv is treated as the password field (regardless of what you reaname it to). If it is present the csv, we will authenticate all your users against the provided passwords. If you wish to skip password verification, remove this column from the csv.
A sample CSV containing some users with their names and an arbitrary password will look like:
A sample CSV containing some users with only their names and no password will look like: